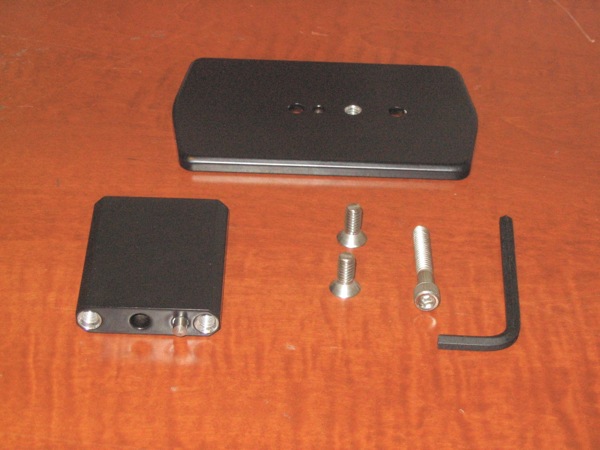
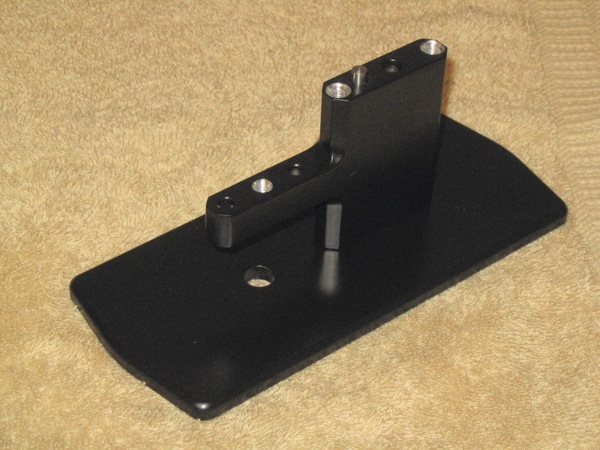
 Included parts for the HC1-PRO |
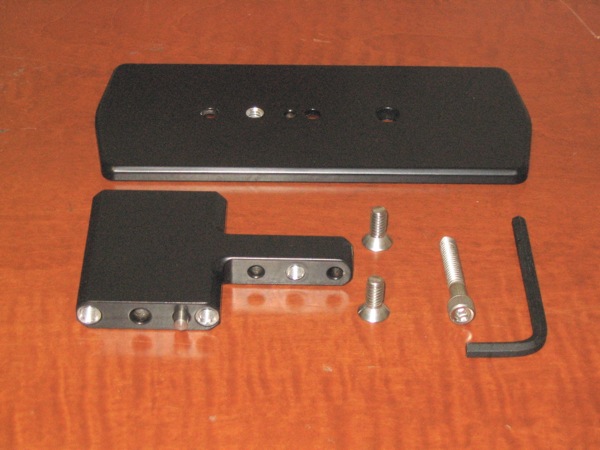 Included parts for the HC1-PROA |
Description:
These instructions cover both the HC1-PRO and HC1-PROA adapters. The difference between the two is that the PROA has accessory mount bar and a screwdriver pass-through hole in the base plate.
Overview:
The included adapter is designed to allow the removal of the tape of a
Sony HDR-HC1 and HVR-A1 series camcorders, as well as many other
bottom-loading camcorders, while still on the tripod. This block does
not prevent the removal and replacement of the battery. Also, this
adapter can serve as a good stabilizer when placed on a table or other
work surface.
Included Parts:
You will need this kit, which includes two plates, a set of four adhesive felt pads, two
flat head screws, a long hex socket screw, and a hex key. The hex key is
sometimes called an allen key or allen wrench. On arrival, should any parts be missing, damaged or incorrect, please email parts@dm-accessories.com for a prompt replacement.
A flat head screwdriver is needed to assemble, which is not included.
|
Included parts for the HC1-PRO |
Included parts for the HC1-PROA |
Assembly:
The vertical plate has a stainless steel alignment pin meant to fit
into the smooth pocket that is forward of the threaded pocket on the
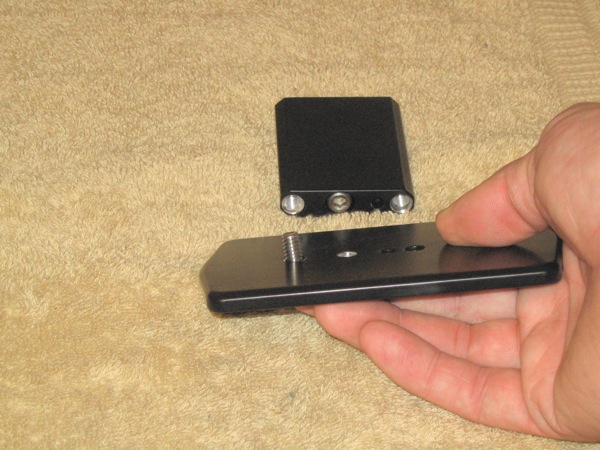
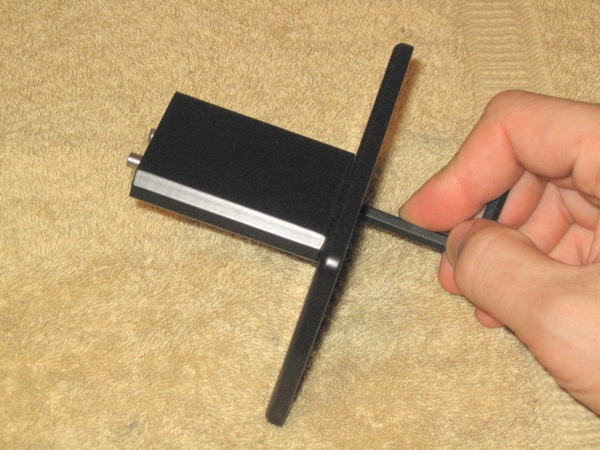
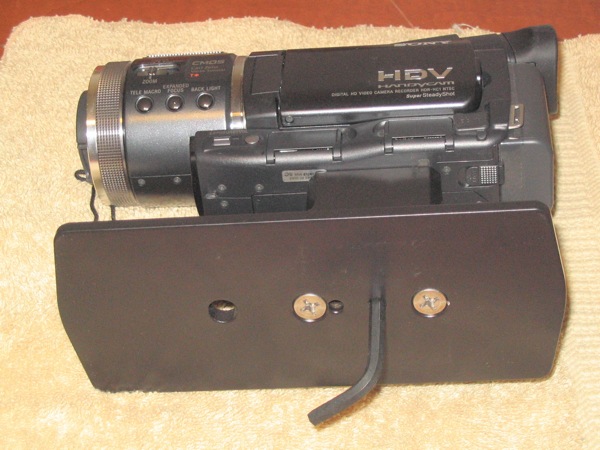
camcorder. The end with the pin is the "top". Place the long screw,
thread end up, into the largest hole on the vertical plate. Now take
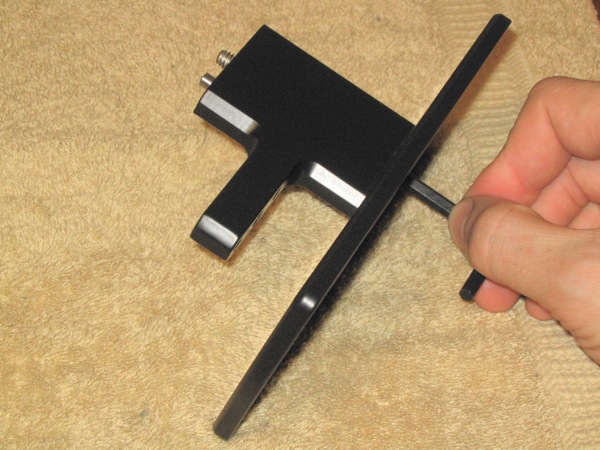
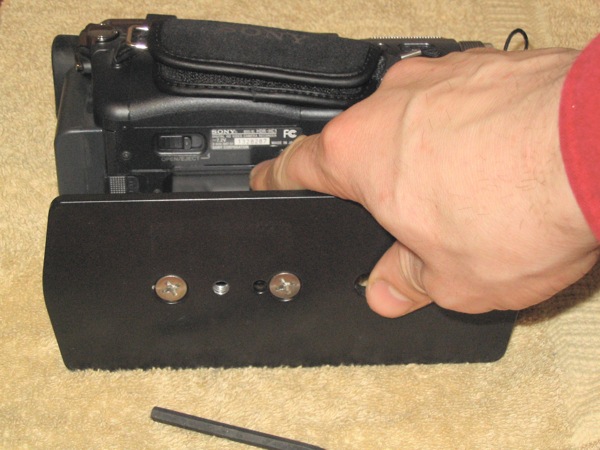
the bottom plate, with bevel edge toward the vertical plate and screw
in by hand the small flat head screws. The forward end is the end away
from the holes in the plate. The bottom plate captures
the long screw inside the adapter, to prevent the screw from getting lost.
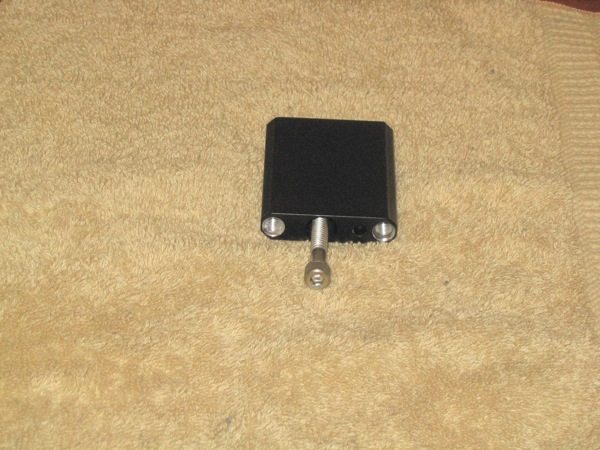 Insert long screw. |
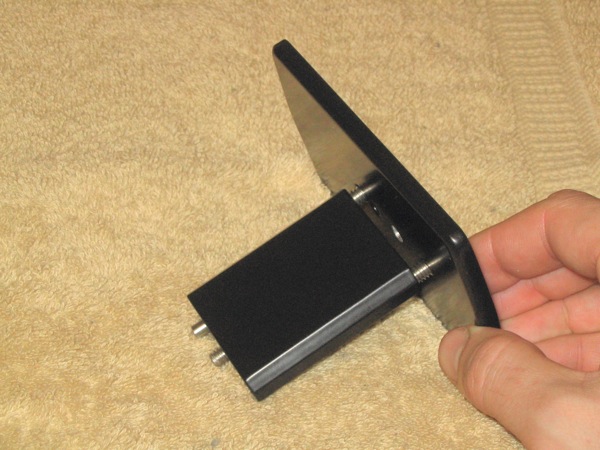
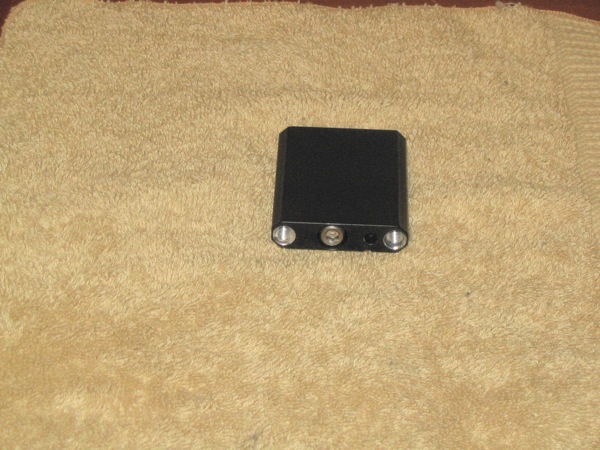 Long screw shown inside block. |
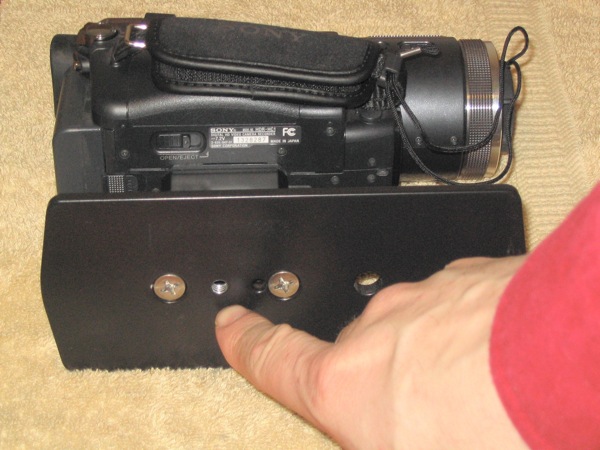
 Insert short screws into base. Be sure that the threaded hole in the base plate lines up with long screw hole. |
 Thread short screws into vertical plate |
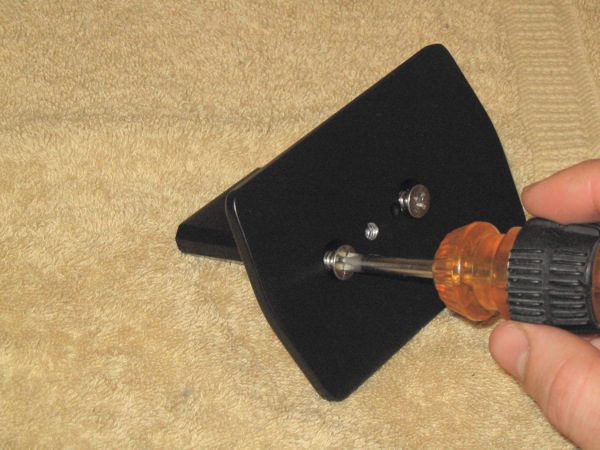 Firmly tighten with screwdriver |
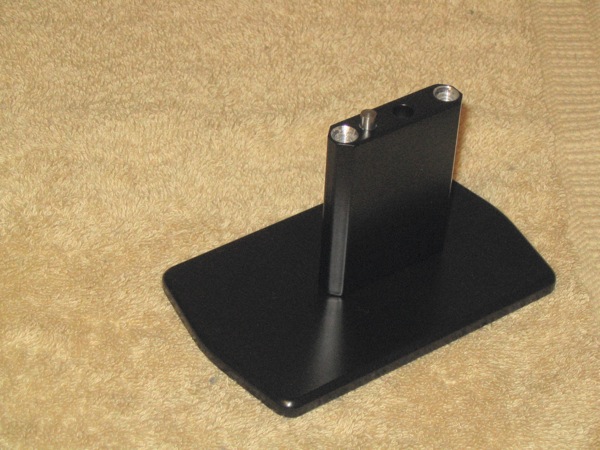 Assembled HC1-PRO |
 Assembled HC1-PROA |
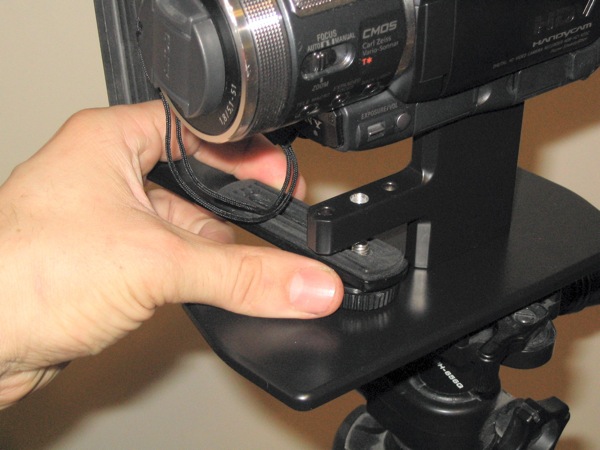
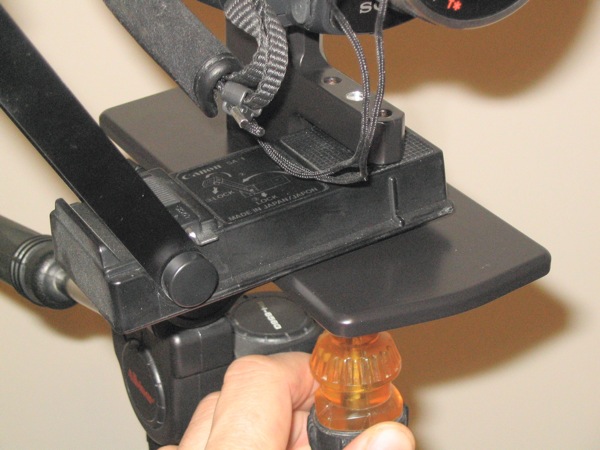
 Insert hex key into threaded hole. |
 Check to see if key seats into screw socket |
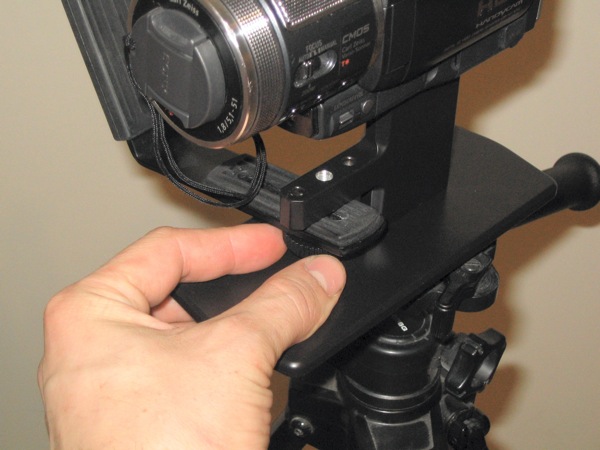
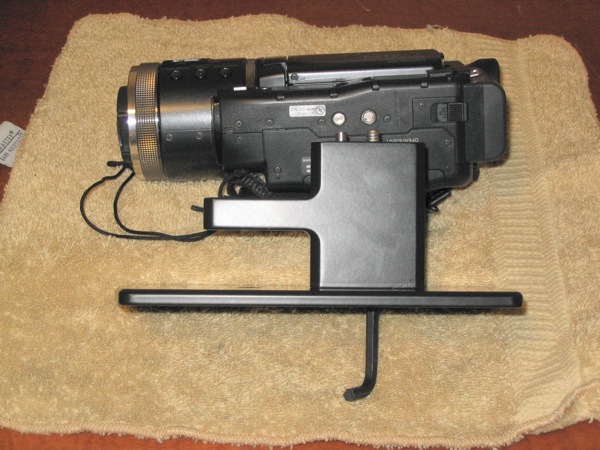 Position adapter |
 Tighten very securely, by hand only, but enough to flatten the anti-skid pad behind the threaded hole. |
 Check alignment against the tape door outline. |
 Tripod mounting thread in base |
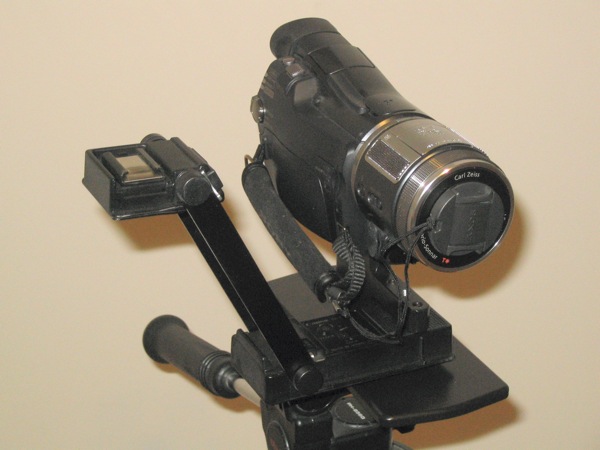
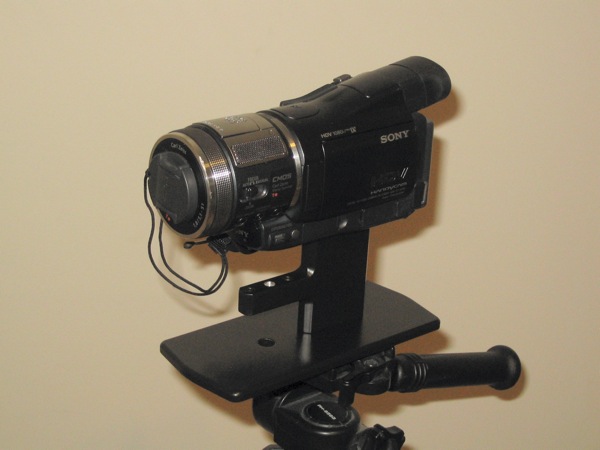 Camera and adapter mounted onto tripod |
 Position accessory |
 Tighten accessory thumbscrew |
 Finished VB-50 installation |
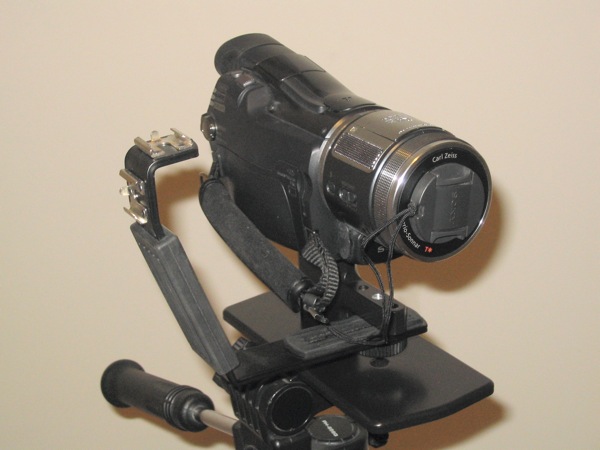
Canon SA-1 Example
 Position and align accessory |
 Tighten accessory screw |
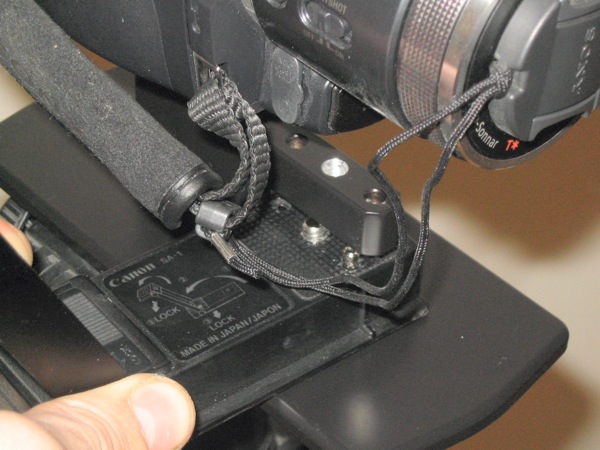
 Mounted SA-1 |
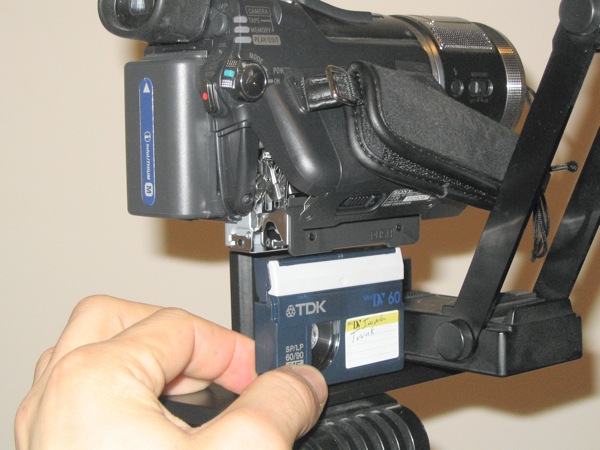 Check to see if tape operation still works |
Maintainance:
The aluminum plates are protected by satin black powder coat. While powder coating greatly improves durability and scratch resistance, the protection is not absolute. Should nicks and scratches appear, they could
be touched up with a black marker or small amounts of hobby paint. Fingerprints can be cleaned using a clean, lint-free cloth. For table top resting, you may want to attach the enclosed protective felt pads to the corners of the base plate to prevent abrasion to the base plate and table surfaces.
Replacement Parts:
The short screws are a relatively standard 1/4"-20 thread, with a 5/8"
length flat head phillips screw and should be available at many hardware
stores. Using stainless steel screws is recommended for best longevity
and best corrosion resistance, but standard zinc coated steel screws
should do fine. The long screw is a 1/4"-20 x 1 1/4" hex socket cap screw, and may be somewhat harder to replace. Keeping the adapter assembled is recommended so as to not lose any of these screws. The hex key is a 3/16" size key.
Should the user lose the hex key or screws and is unable to locate replacement parts, replacements can be sent for a nominal fee. Should any parts be missing on first arrival, please email parts@dm-accessories.com.
All copyrights and trademarks are property of their owners,
everything else ©2005-2006 DeMaagd Accessories. Page text, images, and
shim design all ©2005-2006 DeMaagd Accessories.
| http://dm-accessories.com/ | sales@dm-accessories.com | Last updated March 18, 2006 |